
Step-by-Step Guide: Wiring Your House
Wiring your house may seem like a daunting task, but with the right tools and knowledge, it can be a manageable project. Whether you are building a new house or updating an old one, proper wiring is essential for safety and functionality. In this step-by-step guide, we will walk you through the process of wiring your house, from planning to completion.
Planning and Preparation
Before you begin wiring your house, it is important to have a plan in place. This will help you determine the materials and tools you will need, as well as the layout of your wiring system. Here are some steps to follow when planning for your wiring project:
1. Determine Your Electrical Needs
The first step in planning your wiring project is to determine your electrical needs. Consider the appliances and devices you will be using in your home and their power requirements. This will help you determine the number of outlets and circuits you will need.
2. Create a Wiring Diagram
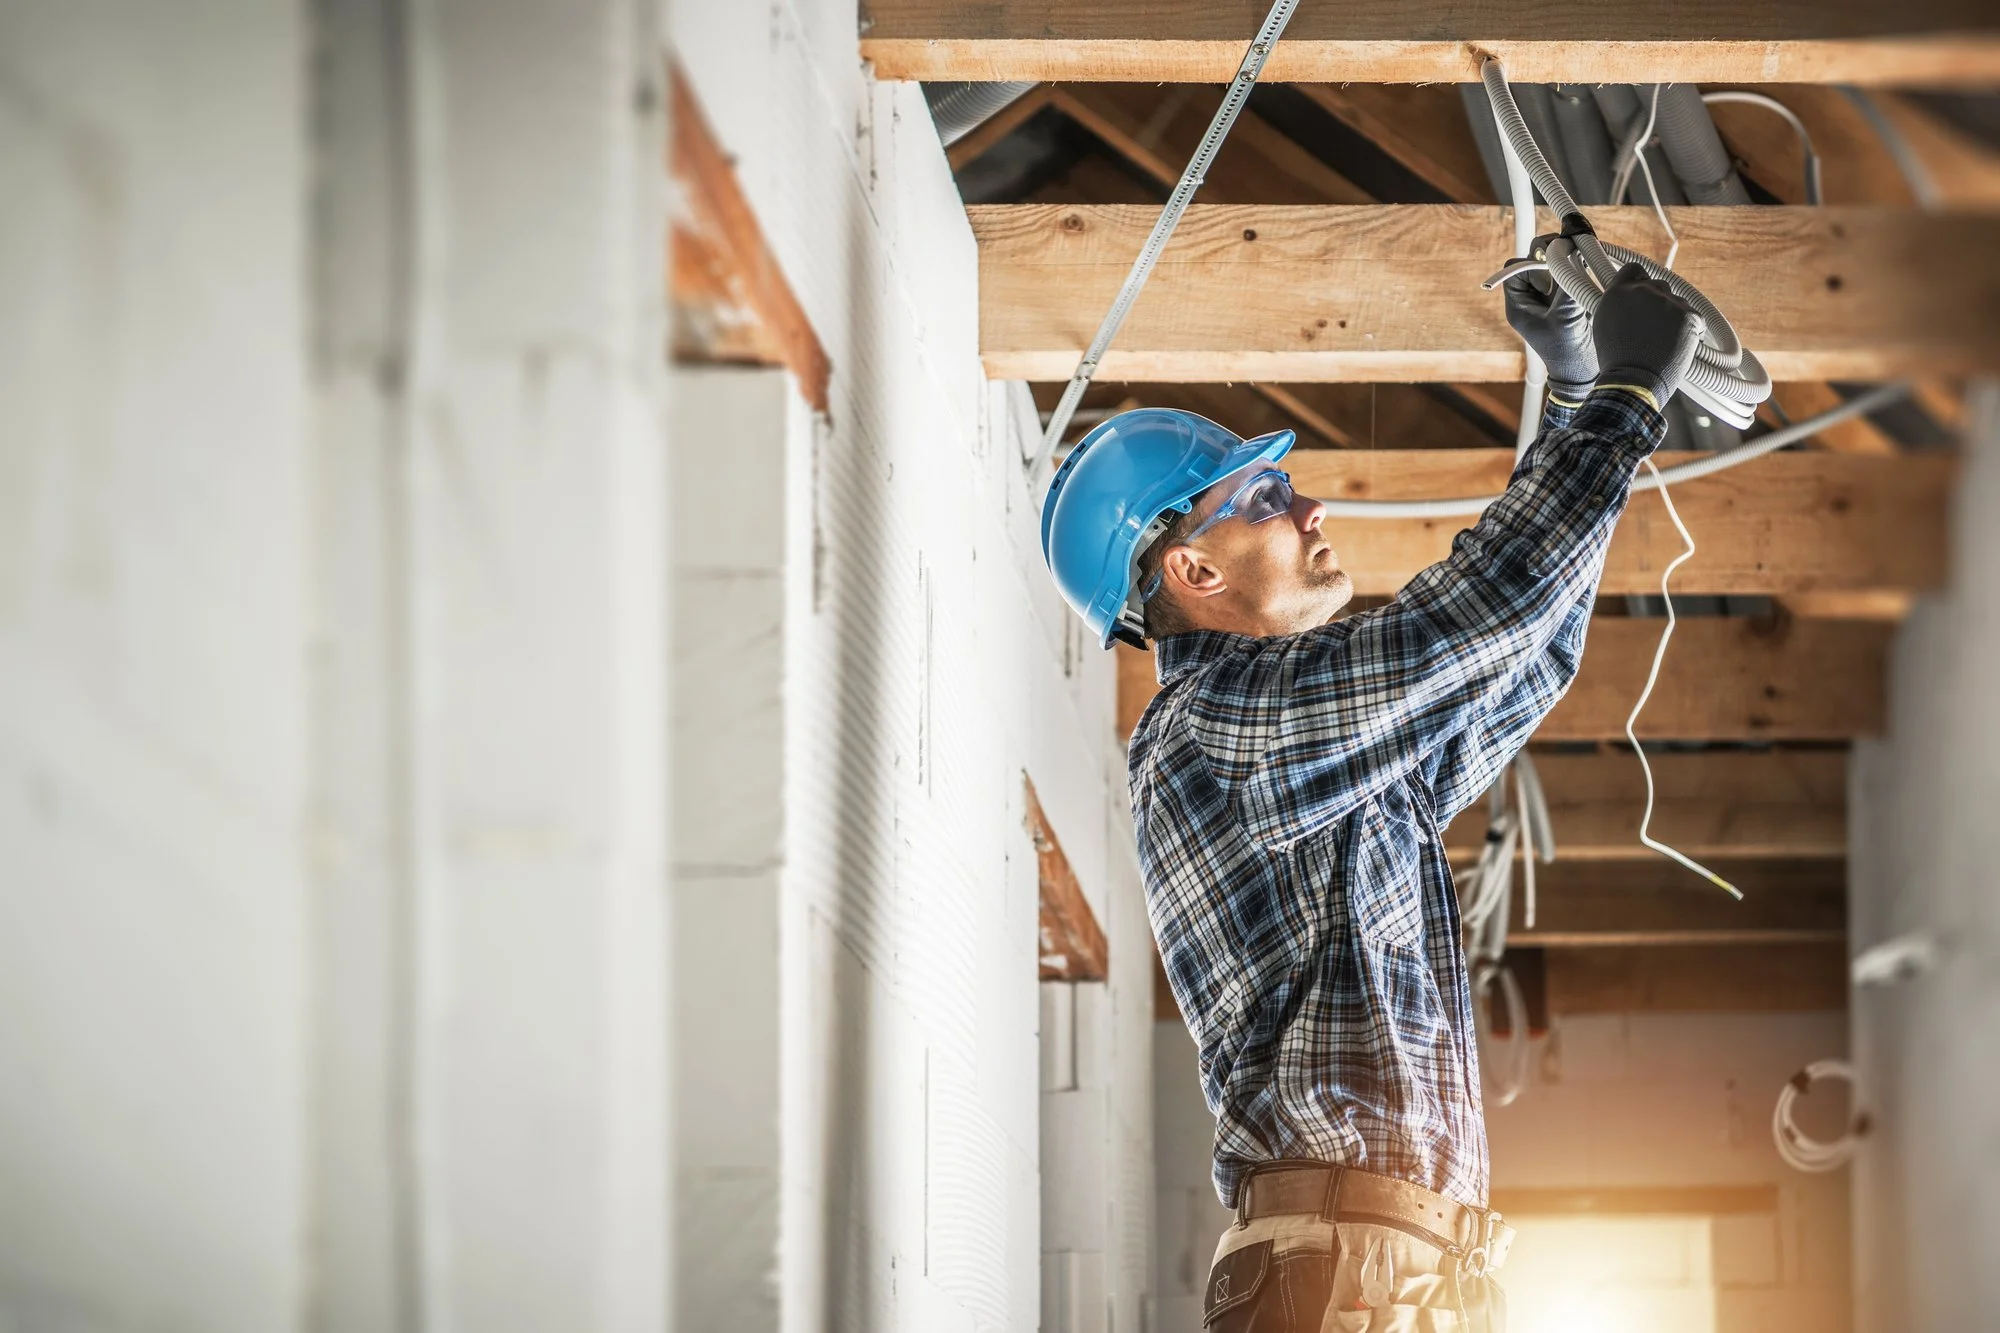
by NEW DATA SERVICES (https://unsplash.com/@new_data_services)
Creating a wiring diagram will help you visualize your wiring system and ensure that you have all the necessary components. It will also help you identify potential issues and make adjustments before beginning the wiring process.
3. Gather Materials and Tools
Once you have a plan in place, it is time to gather the materials and tools you will need for the project. Some essential items include:
Electrical wire
Outlets and switches
Circuit breaker panel
Wire cutters and strippers
Screwdrivers
Pliers
Voltage tester
Electrical tape
Wiring Your House
Now that you have a plan and all the necessary materials, it is time to start wiring your house. Follow these steps for a successful wiring project:
1. Turn Off the Power
Before you begin any wiring work, it is crucial to turn off the power to the area you will be working in. This will prevent any accidents or injuries.
2. Install the Circuit Breaker Panel
The circuit breaker panel is the heart of your electrical system. It distributes power to different areas of your house through circuits. Follow the manufacturer's instructions to install the panel in a safe and accessible location.
3. Run the Main Electrical Cable
by Linus Belanger (https://unsplash.com/@linusbelanger)
The main electrical cable, also known as the service entrance cable, brings power from the utility company to your circuit breaker panel. It is typically installed by a professional electrician, but if you are comfortable working with electricity, you can do it yourself. Be sure to follow all safety precautions and local codes.
4. Install Outlets and Switches
Next, it is time to install outlets and switches throughout your house. Follow your wiring diagram to determine the placement of outlets and switches. Use a voltage tester to ensure that the power is off before working on any electrical components.
5. Run Electrical Wire
Using your wiring diagram as a guide, run electrical wire from the circuit breaker panel to each outlet and switch. Be sure to leave enough slack in the wire for connections and future adjustments.
6. Connect Wires to Outlets and Switches
by Khachik Simonian (https://unsplash.com/@khachiksimonian)
Once the wire is in place, it is time to connect it to the outlets and switches. Use wire cutters and strippers to remove the insulation from the ends of the wires and connect them to the appropriate terminals on the outlets and switches.
7. Ground the System
Grounding your electrical system is essential for safety. If you are working on an older house, you may need to add a ground wire. This can be done by running a wire from the circuit breaker panel to a grounding rod outside the house.
8. Test the System
Before turning the power back on, it is crucial to test your wiring system. Use a voltage tester to ensure that all connections are secure and that there are no exposed wires.
9. Turn On the Power
Once you have tested the system and made any necessary adjustments, it is time to turn the power back on. Be sure to follow all safety precautions and local codes.
How Long Does It Take to Wire a House?
The time it takes to wire a house will vary depending on the size of the house and the complexity of the wiring system. On average, it can take anywhere from 2-4 weeks to wire a house. This includes planning, preparation, and installation.
Tips for a Successful Wiring Project
Always follow safety precautions and local codes when working with electricity.
Use a wiring diagram to plan your wiring system and ensure that you have all the necessary components.
Label all wires and connections for easy identification in the future.
Test the system before turning the power back on.
If you are unsure about any aspect of the wiring process, consult a professional electrician.
Conclusion
Wiring your house may seem like a daunting task, but with proper planning and preparation, it can be a manageable project. By following the steps outlined in this guide, you can ensure that your wiring system is safe and functional. Remember to always follow safety precautions and consult a professional if you are unsure about any aspect of the wiring process. With the right tools and knowledge, you can successfully wire your house and have a safe and functional electrical system.