
How to Wire a Light Switch: A Step-by-Step Guide
Light switches are fundamental components in every home's electrical system. If you're looking to undertake the task of wiring one yourself, it's essential to proceed with caution and have a clear understanding of the process. This article provides a comprehensive step-by-step guide on wiring a light switch.
Disclaimer: Working with electricity can be dangerous. Always turn off the power at the circuit breaker or fuse box before beginning any electrical work. If unsure about any step, consult with a professional.

Understanding Single-Pole Light Switch
Imagine a simple on-off switch controlling a single light. This is the essence of this type of switch. Small device mounted on a wall, typically with a single rocker switch that flips up and down.
Inside the switch are two terminals: a common terminal and a traveler terminal. The common terminal acts as a meeting point for two key players – the hot wire and the switch lever. The hot wire, usually black, carries electrical current from the breaker box. The switch lever, controlled by your flick, acts as a gatekeeper.
When the switch is off, the gate is closed, blocking the hot wire from reaching the traveler terminal. As a result, the traveler terminal, connected to the light fixture's wires, remains dormant, and the light stays off.
When the switch is on, the hot wire's current now has a clear path to flow through the common terminal, the switch lever, and then the traveler terminal. This completes the circuit, same as connecting the two ends of a broken wire. Electricity surges through the traveler terminal and down the wires to the light fixture. The bulb receives its power, and the light is on!
In essence, the single-pole switch acts like a simple on-off valve for the flow of electricity. It controls whether the hot wire's current reaches the light fixture, dictating whether the room basks in light or remains in darkness.
Step-by-Step
1. Gather All Materials
Before you begin wiring your light switch, make sure you have the following:
Screwdrivers
Wire stripper
Voltage tester
Electrical tape
Wire connectors (wire nuts)
Single-pole light switch (for basic on/off functionality)
2. Turn Off the Power
Locate your home's electrical panel (often referred to as the circuit breaker or fuse box).
Identify the breaker that controls the circuit where you'll be working.
Switch it to the "off" position.
For safety, place a piece of tape over the switched-off breaker to prevent someone else from accidentally turning it back on.
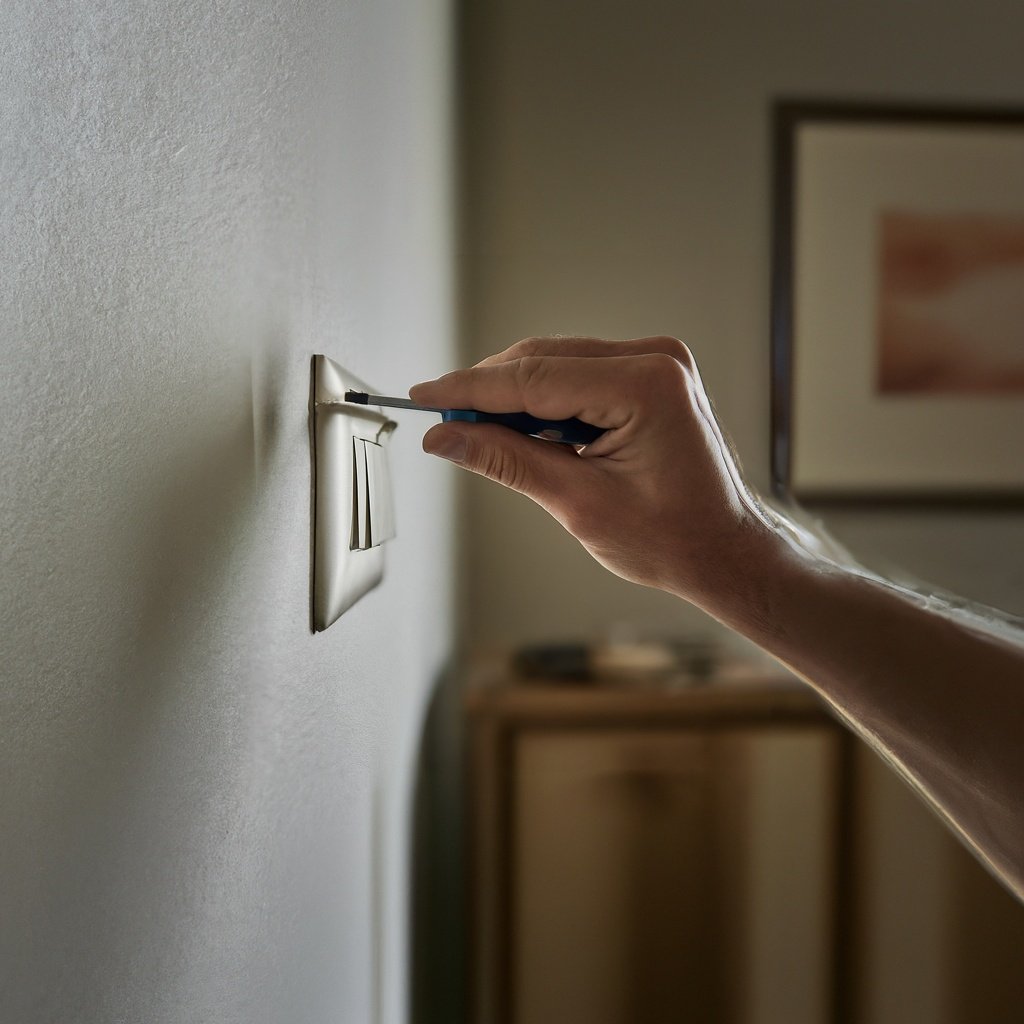
3. Remove the Old Switch (if applicable)
Unscrew the switch cover or faceplate and remove it.
Unscrew the switch from the box.
Carefully pull the switch out so you can access the wires.
Disconnect the wires from the old switch.
4. Identify and Prepare the Wires
Typically, you'll encounter:
Black Wire or Red Wire: This is the "hot" wire that delivers power to the switch.
White Wire: The neutral wire (not always used in switch installations).
Green or Bare Wire: Ground wire.
Using the wire stripper, strip about 3/4 inch off the insulation from each wire if they aren't prepared already.
5. Connect the Wires to the New Switch
Ground Wire: Attach the green or bare wire to the green grounding screw on the switch. Loop the wire around the screw and tighten it.
Hot Wires: If you're installing a single-pole switch, you'll likely have one or two black (or red) wires. Attach each to one of the brass screws on the switch in the same way.
Note: If there's a white wire, it typically won't connect to the switch itself but should be capped off with a wire connector.
6. Secure the Switch and Replace the Cover
Carefully push the switch and wires back into the electrical box.
Secure the switch to the box using screws.
Place the faceplate over the switch and secure it with screws.
7. Turn the Power Back On
Remove the tape from the breaker if you placed one.
Turn the circuit breaker back to the "on" position.
Test the switch to ensure it operates the light correctly.
Common Issues
If the light doesn't work when you flip the switch, there are a few things you can check:
Make sure the wires are connected correctly.
Make sure the wire nuts are tight.
Check the bulb to make sure it's not burned out.
If you're still having trouble, consult a qualified electrician.
Conclusion
Wiring a light switch can be a simple task when you approach it correctly and safely. While this guide provides a basic overview on how to wire a light switch, the setup in your home might vary. If you ever feel uncertain in the process, consult with or hire a professional electrician.
If you live in the Denver and Colorado Springs area, call Electrician Denver for your electrical needs. Ensuring every switch, wire, and light operates safely and efficiently.