
How to Wire a GFCI Outlet: A Comprehensive Guide
If you're looking to upgrade your home's electrical system, installing a GFCI outlet is a great place to start. GFCI outlets are designed to protect you from electrical shocks by quickly shutting off power when it detects a ground fault.
In this article, we'll walk you through the steps of wiring a GFCI outlet. By the end of this article, you can ensure the safety of your home and family.

Why Install a GFCI Outlet?
A ground fault is an unintentional electrical current flow that takes a path different from the intended circuit. Instead of safely returning to the source through the neutral wire, the current escapes and travels through a grounding conductor or any other conductive material, potentially causing harm.
Ground Fault Circuit Interrupter (GFCI) outlets are essential safety devices. It'll swiftly cutting off power the moment they sense a potentially dangerous ground fault.
For the sake of your safety, the National Electrical Code (NEC) demands GFCI outlets in damp or exposed areas. Those include bathrooms, kitchens, and outdoor zones. The recommendation is also for the areas where water is present, such as laundry rooms and garages.
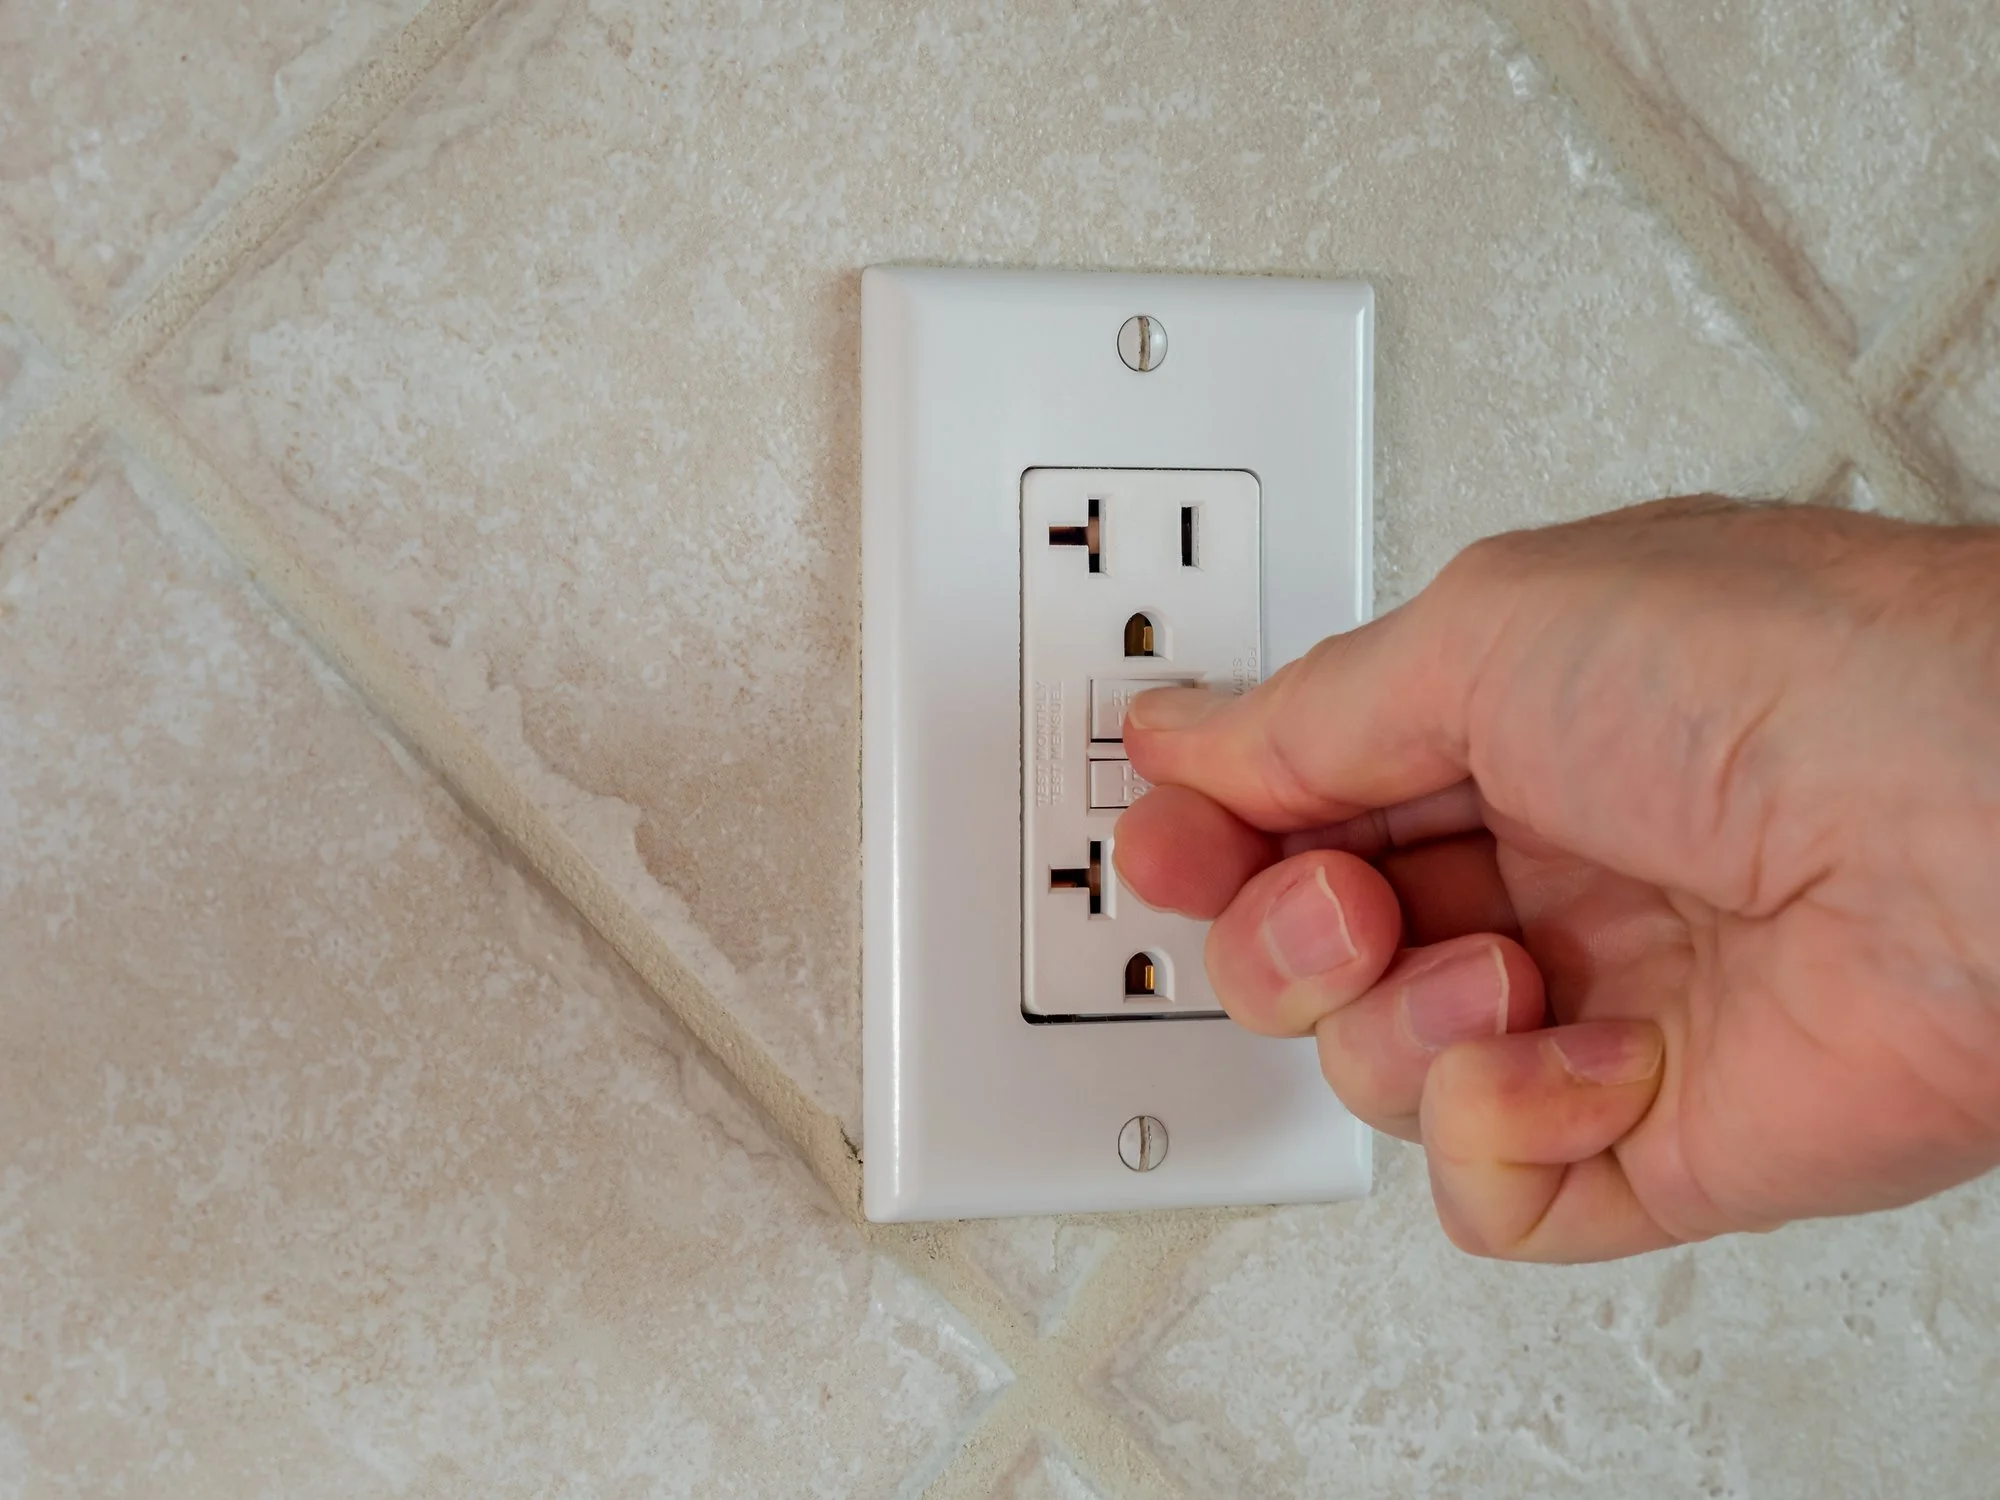
In addition to being a safety requirement, GFCI outlets also offer added convenience. They have a built-in test and reset button, making it easy to check if the outlet is functioning properly.
Wiring a GFCI Outlet
Replacing or installing a GFCI outlet requires careful attention to detail and adherence to safety regulations.
1. Preparation
Required Tools and Materials:
GFCI outlet
Screwdrivers
Wire strippers
Voltage tester
Needle-nose pliers
Electrical box (if not already installed)
Wire nuts
Electrical tape
Safety Guidelines:
Always shut off the power at the circuit breaker or fuse box before beginning.
Confirm the absence of electrical current with a voltage tester.
Wear safety goggles and avoid damp conditions.
2. Preparing the Old Outlet (If Replacing)
Removing the Outlet:
Unscrew and remove the faceplate.
Unscrew the outlet and gently pull it out to access the wires.
Identify and Disconnect Wires:
You'll typically find a black (hot) wire, a white (neutral) wire, and a green or bare (ground) wire.
Using the voltage tester, ensure no current is flowing.
Disconnect all wires from the old outlet.
3. Wiring the GFCI Outlet
Identify the LINE and LOAD Terminals:
GFCI outlets have two sets of terminals: "LINE" (where the power comes in) and "LOAD" (to provide GFCI protection to downstream outlets or devices). Remember, its crucial to connect the wires correctly. Usually, a sticker covers the "LOAD" terminals to prevent accidental use. Remove this sticker only if you plan to protect additional outlets downstream.
Connect the Ground Wire:
Attach the green or bare copper ground wire to the green grounding screw on the GFCI outlet.
Connect the LINE Wires:
Connect the black wire to the brass screw on the "LINE" side.
Connect the white wire to the silver screw on the "LINE" side.
Connecting the LOAD Wires (If Applicable):
If you are providing GFCI protection to downstream outlets, remove the sticker covering the "LOAD" terminals.
Connect the downstream black wire to the brass screw and the white wire to the silver screw on the "LOAD" side.
4. Finalizing the Installation
Position the GFCI Outlet:
Carefully fold the wires and push the GFCI outlet into the electrical box.
Secure the outlet to the box using screws.
Attach the faceplate.
Testing the Outlet:
Turn the power back on.
Press the "RESET" button on the GFCI outlet.
Plug in a device (like a lamp) to ensure it's working.
Test the "TEST" button. The lamp should turn off, indicating the GFCI is functioning correctly.
Press "RESET" again to restore power.
Additional Tips:
Consult the manufacturer's instructions for specific details about your GFCI model.
Don't use pigtailing (twisting and taping wires together). Use wire nuts for secure connections.
Label the wires with their respective connections (e.g., "line hot," "line neutral," "ground") for future reference.
Troubleshooting and Recommendations
If the GFCI doesn’t reset or the test doesn't work, ensure all connections are firm and correctly positioned.
Do not use the "LOAD" terminals unless you are providing GFCI protection to other outlets or devices.
Regularly test GFCI outlets to ensure they're functioning correctly.
Conclusion
In conclusion, installing a GFCI outlet is a relatively simple process. It can significantly improve the safety of your home. By following the steps outlined in this guide and exercising caution, you can ensure that your GFCI outlet is wired correctly and functioning properly.
If at any point you feel that this might be beyond your expertise, don't hesitate to reach out to professionals. For those in the Denver and Colorado Springs area, consider calling Electrician Denver at 720-600-2719. With patience, caution, and the right help when needed, you can bolster the safety of your home with a properly installed GFCI outlet.