
How To Test A Circuit Breaker: A Step-by-Step Guide
A circuit breaker is an essential safety device that protects electrical circuits from overloading and short circuits. When detect an abnormal amount of current, it will automatically shut off the flow of electricity. This prevents damage to appliances and wiring, and most importantly, reduces the risk of electrical fires.
However, like any other device, circuit breakers can also malfunction and fail to trip when needed. That's why it's important to regularly test your circuit breaker to ensure it is functioning properly. In this article, we will discuss what a circuit breaker is, why it needs to be tested, and how to test it with a multimeter.
What is a Circuit Breaker?
A circuit breaker is a switch that is designed to protect electrical circuits from damage caused by overloading or short circuits. Typically located in the main electrical panel or electrical sub panel of a building and is connected to all the electrical circuits in the building.
Many types of circuit breakers are available in the market. However, for home building, we commonly use five types: single-pole, double-pole, GFCI, AFCI, and dual breakers. They all share a common feature: automatically cutting off electricity when detecting excess current. The aim is to prevent damage to appliances and wiring.
Why Test a Circuit Breaker?
Circuit breakers are designed to trip when they detect an abnormal amount of current, but they can also fail to trip due to various reasons such as age, wear and tear, or faulty wiring. This can lead to serious safety hazards, including electrical fires. That's why it's important to regularly test your circuit breaker to ensure it is functioning properly.
Necessary Equipment
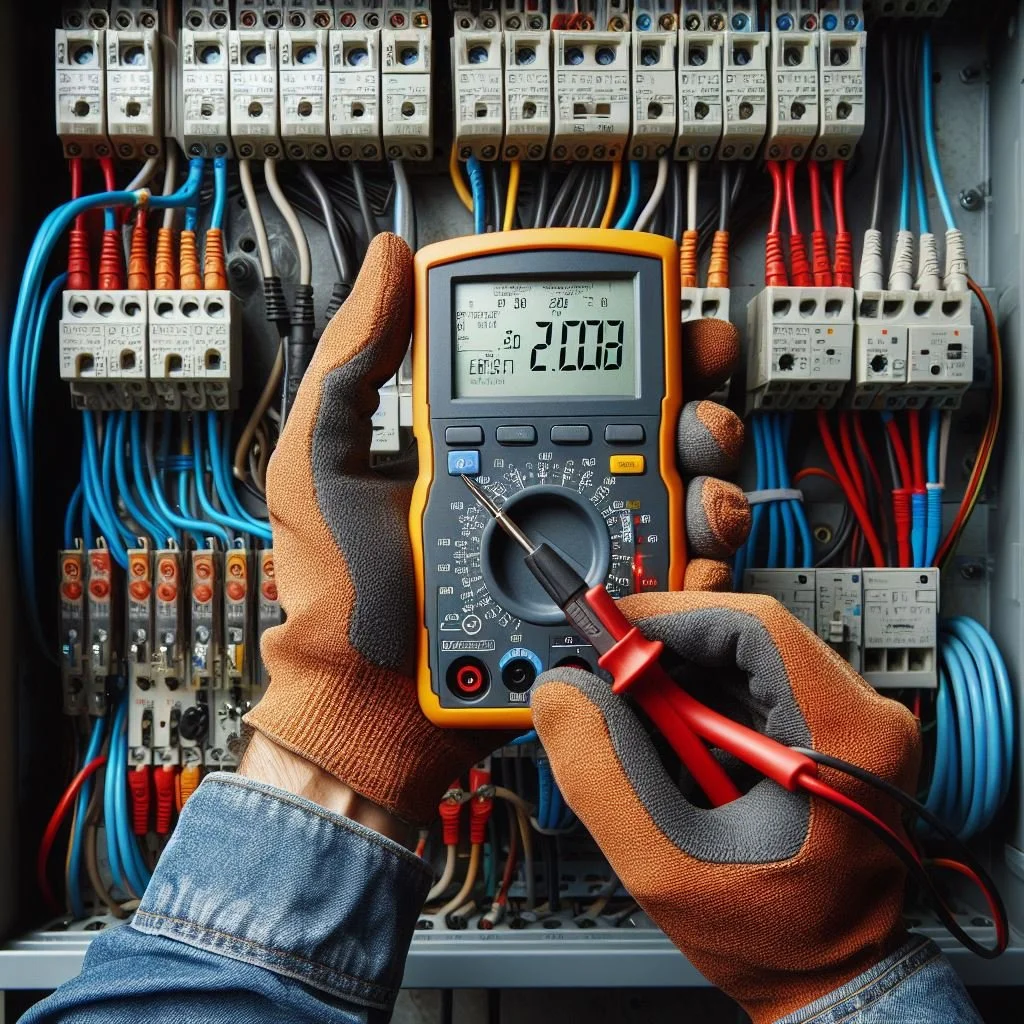
To test a circuit breaker, you will need a few pieces of equipment. The most important tool is a digital multimeter, which is used to measure voltage, current, and resistance. You will also need a voltage tester, a screwdriver, and a pair of insulated gloves for safety. Before begin the testing process, it is important to make sure all equipment is in good working condition.

How to Test a Circuit Breaker with a Multimeter
Step 1: Turn Off Power, Ensure Safety
Before testing a circuit breaker, it is crucial to turn off the power to the circuit. Turn off the main breaker to completely de-energize the electrical panel. This is essential for your safety.
Another precaution, wear safety gloves and eye protection. Double-check for any residual voltage using a non-contact voltage tester.
Step 2: Locate the Circuit Breaker
Open the electrical panel cover and identify the specific circuit breaker you want to test. Note its position (on or off) for reference.
Step 3: Prepare the Multimeter
Set the multimeter to measure AC voltage, typically indicated by a V~ symbol. Choose a voltage range higher than 120 volts for standard household circuits.
Step 4: Test for Voltage
Using a voltage tester, check for the presence of voltage in the circuit. Touch one multimeter probe to the circuit breaker's terminal screw. Touch the other probe to a ground screw, usually found on the metal bar along the side of the panel. Read the multimeter display:
Good breaker (ON): It should read 120 volts (or 240 volts for double-pole breakers).
OFF or faulty breaker: It should read 0 volts.
Step 5: Test the Continuity (optional)
Using a digital multimeter, set the dial to the "ohms" setting. Touch the probes to the terminal screws of the circuit breaker. The reading should be close to zero ohms, indicating that the circuit is closed. If the reading is significantly higher, the circuit breaker may be faulty and in need of replacement.
Step 6: Reset the Circuit Breaker
After testing, reset the circuit breaker by flipping the switch or pressing the button back to the "on" position. If the circuit breaker trips again immediately, there may be an underlying issue with the circuit. The recommendation is to seek professional help.
Step 7: Turn On Power
Once the testing is complete and the circuit breaker has been reset, turn the power back on to the circuit. Test the circuit to ensure it is functioning properly and there are no issues.
By following these steps and regularly testing your circuit breaker, you can ensure the safety and functionality of your electrical system. If you encounter any issues during the testing process, it is best to seek professional help to avoid any potential hazards.
Final Thought
Testing your circuit breaker is crucial for maintaining a safe electrical system. Regular testing with tools like a multimeter ensures it's working correctly. Regular testing helps identify potential issues early, like faulty wiring or wear, preventing hazards. A well-maintained circuit breaker not only protects appliances but significantly reduces the risk of electrical fires, ensuring the safety of your home.