
Step-by-Step Wire Labeling: A Comprehensive Guide
Wire labeling is one of the part of any electrical project. Its essential whether it's a small DIY project or a large commercial installation. Properly labeled wires not only ensure safety but also make troubleshooting and maintenance easier.
This guide will provide a step-by-step overview of various wire labeling methods. Read more to find out methods we have covered.
Identify Your Wires
The first step in wire labeling is to identify each wire and its purpose. This is especially important in larger projects with multiple wires. Use a marker pen to label each wire with a unique identifier, such as a number or letter. This will make it easier to match the wire with its corresponding label later on.
Choose Your Labeling Method
Method 1: Heat-Shrink Tubing
Heat-shrink tubing is a sleeve of heat-sensitive material that expands when heated, conforming snugly to the wire. This method provides a durable and tamper-proof solution, ideal for harsh environments. Following is step-by-step instructions:
Choose the Right Tubing. Select the appropriate size and color of heat-shrink tubing based on the wire diameter and labeling requirements.
Slip the Tubing onto the Wire, ensuring it covers the desired labeling area.
Use a heat gun or lighter to evenly heat the tubing until it shrinks and adheres tightly to the wire.
Use a marker or label printer to write clear and consistent information on the tubing.
Method 2: Self-Laminating Labels
Self-laminating labels are pre-printed labels with a protective layer that covers the printed information. This method provides resistance to moisture, abrasion, and chemicals. Here is how to do it:
Clean the wire with rubbing alcohol to remove dirt and debris, ensuring a clean surface for adhesion.
Carefully peel the label backing to expose the adhesive.
Align the label with the desired position on the wire and press firmly to secure it.
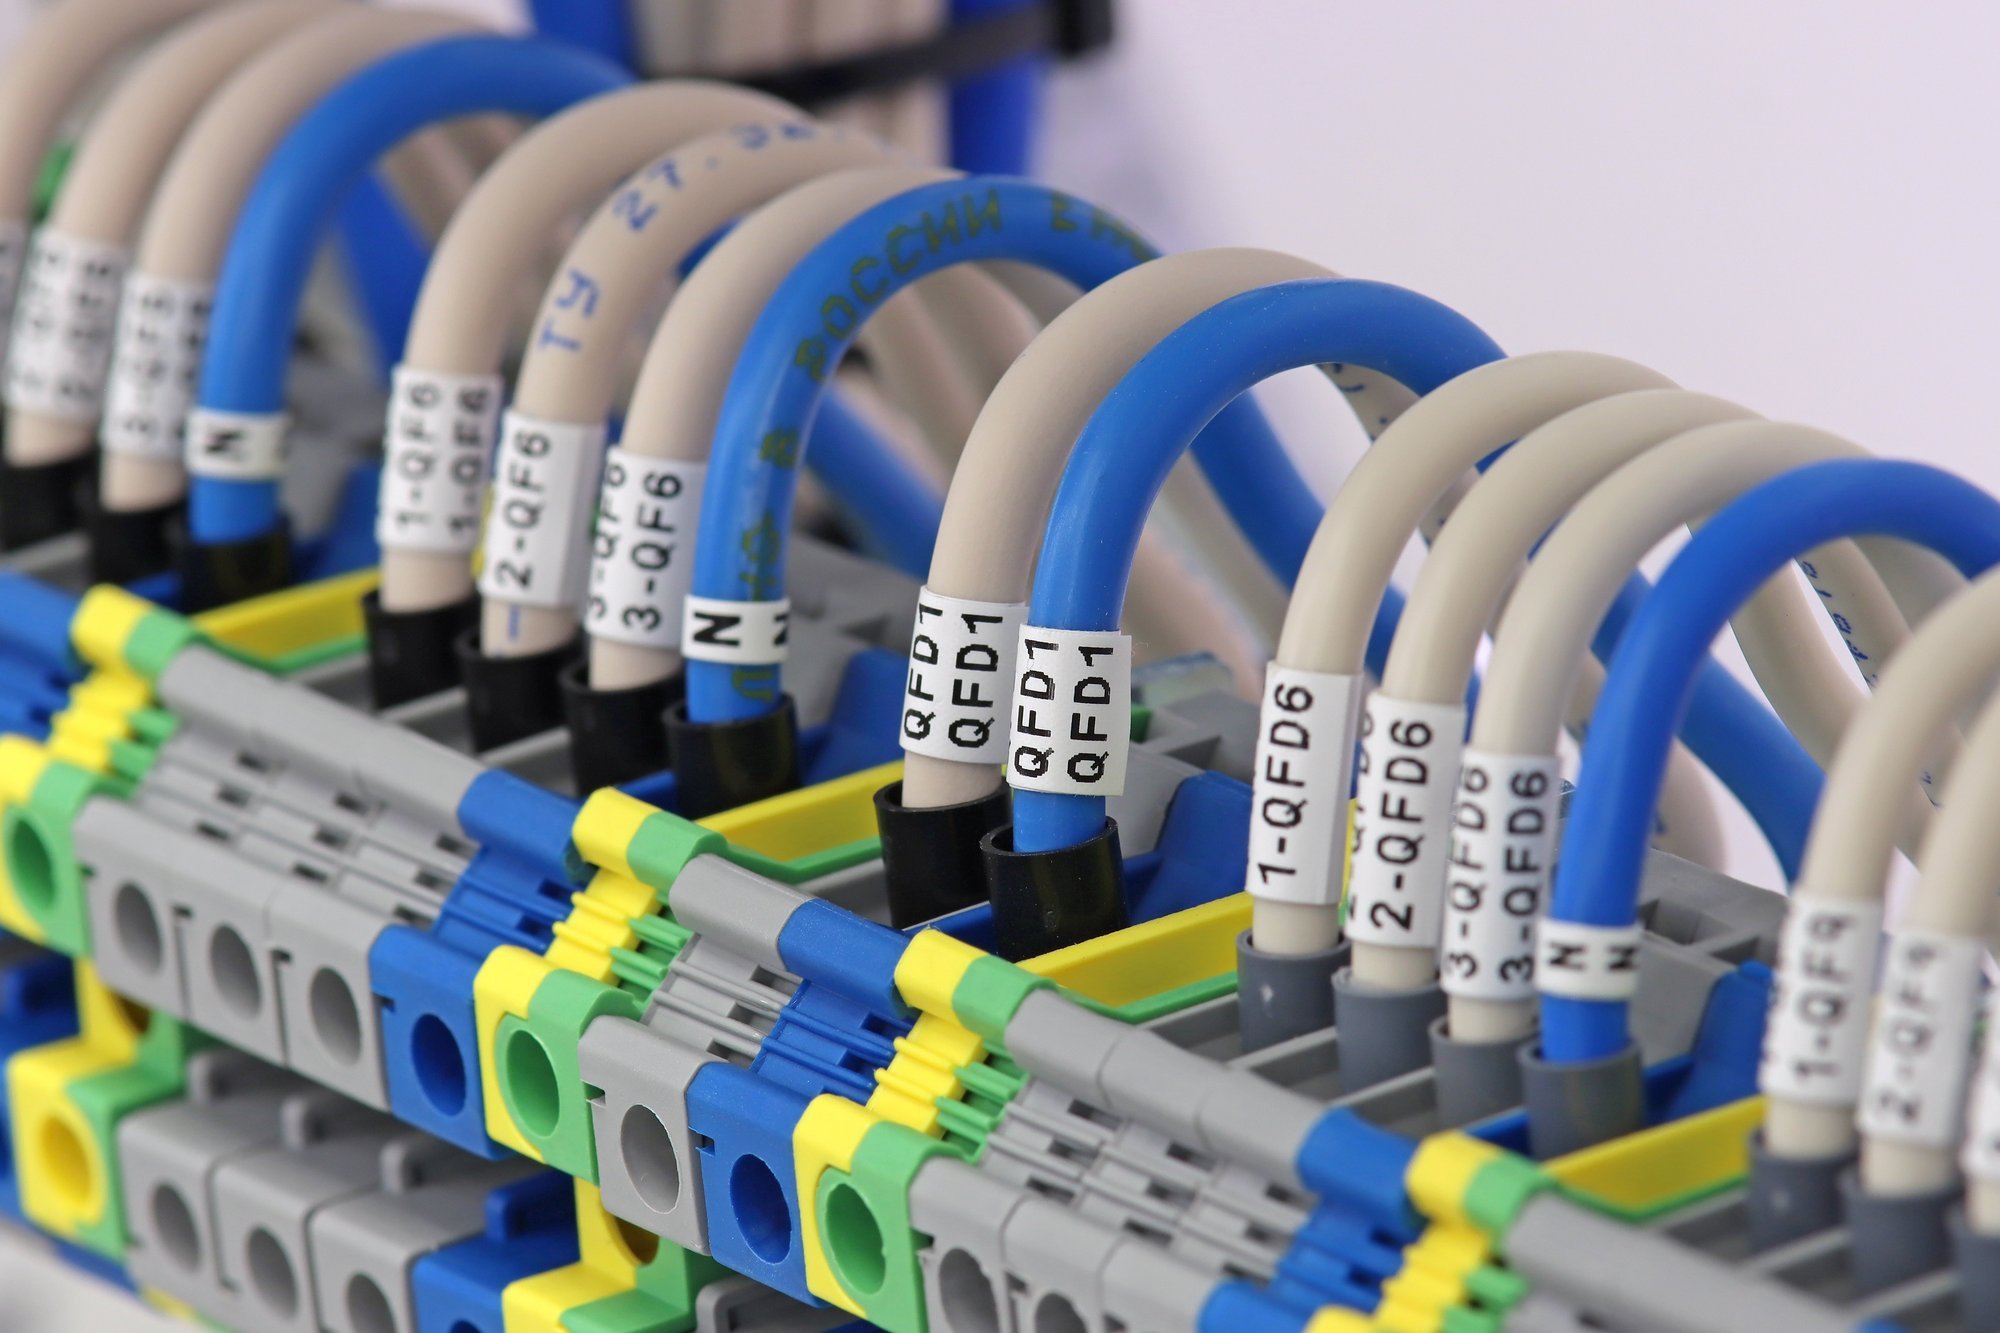
Method 3: Printable Markers
Printable markers, such as cable markers or wire pens, allow for direct marking on the wire insulation. This method is quick and easy to apply, here is how:
Select a marker that is compatible with the wire insulation and provides sufficient visibility.
Clean the wire with rubbing alcohol to remove dirt and debris, ensuring a clean surface for marking.
Write clear and consistent information on the wire insulation using the chosen marker.
Method 4: Cable Flags
Cable flags are small, flexible flags that attach to the wire using a snap-on mechanism. This wire marking method is commonly for temporary labeling or marking specific locations on a wire. Below are the steps to do it:
Select the appropriate size and color of cable flags based on the wire diameter and labeling requirements.
Snap the cable flag onto the wire at the desired location.
Method 5: Non-Adhesive Tags
Non-adhesive tags are labels that attach to the wire using a string, wire tie, or specialized clip. This wiring identification method is usually for larger wires or temporary labeling. Only two steps to make it done:
Select the appropriate size and material of non-adhesive tags based on the wire diameter and labeling requirements.
Thread the string, wire tie, or specialized clip through the tag and secure it to the wire.
Additional Tips for Effective Wire Labeling
Use consistent labeling conventions throughout the project. This includes using standardized acronyms, symbols, and color-coding schemes. Whenever possible, color-code wires according to industry-standard color codes.
Create a labeling diagram or map for complex installations. These diagrams visually represent the layout of the electrical system and indicate the specific labeling for each wire. This documentation proves invaluable for future troubleshooting, maintenance, or upgrade.
Maintain a record of wire labels for future reference. Keep a detailed record of wire or cable labels, including the wire identifier, corresponding location, and any additional relevant information.
Test Your Labels. Use a multimeter to check the consistency of each wire and make sure it matches the label. This will help prevent any potential issues or confusion in the future.
Final Thought
In conclusion, electrical labeling on a wire or cable is a crucial step in any electrical project. Properly labeled wires not only enhance safety but also simplify troubleshooting and maintenance tasks. By following this comprehensive guide, you can ensure that your wires are properly labeled and organized, leading to a safer and more efficient electrical system.